How to Install Different Versions of Node.js and NPM with NVM
The superpower NVM gives you is the ability to have multiple versions of Node.js installed on your machine.
Reference: 1
To install the latest version of Node, run
nvm install latest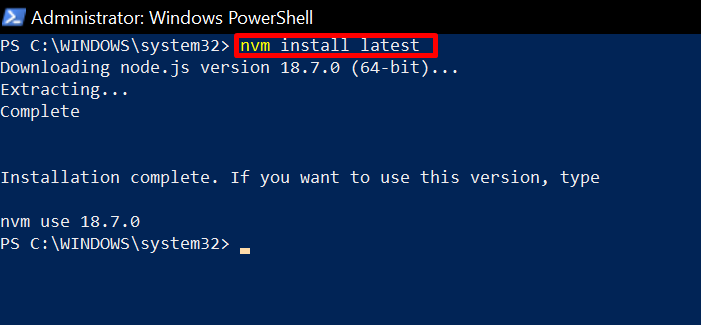
It is always better to install the long-term support (LTS) version of Node because it is less buggy.
To install the LTS version of Node, run
nvm install lts
To install a specific version of Node, you need to run nvm list available first so you can see the versions of Node that are available.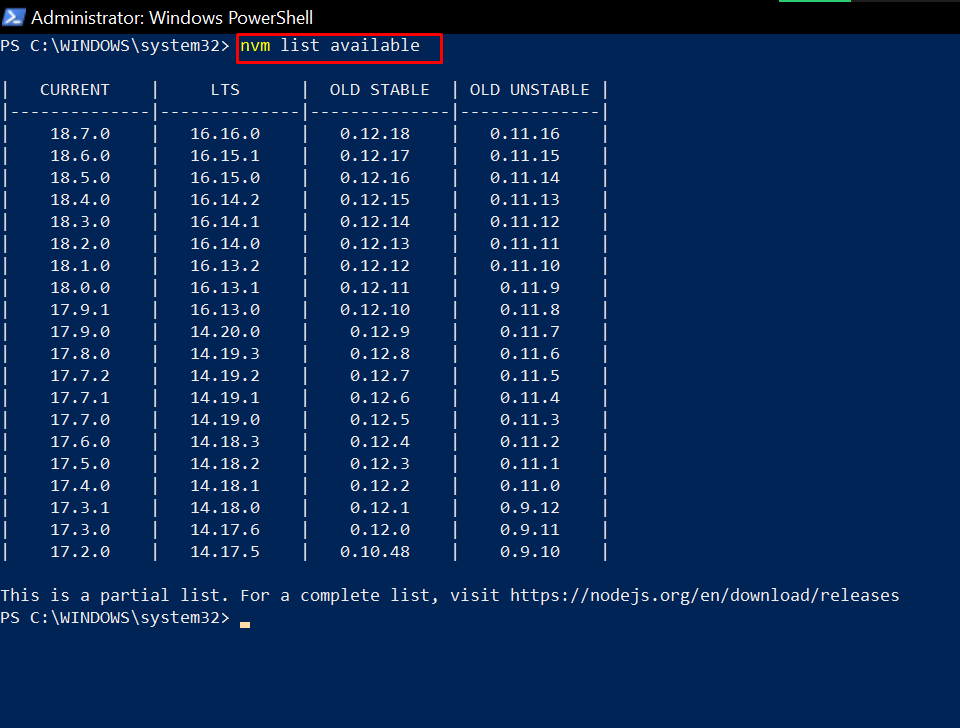
To install that specific version, run nvm install node-version-number. For example,
nvm install 14.20.0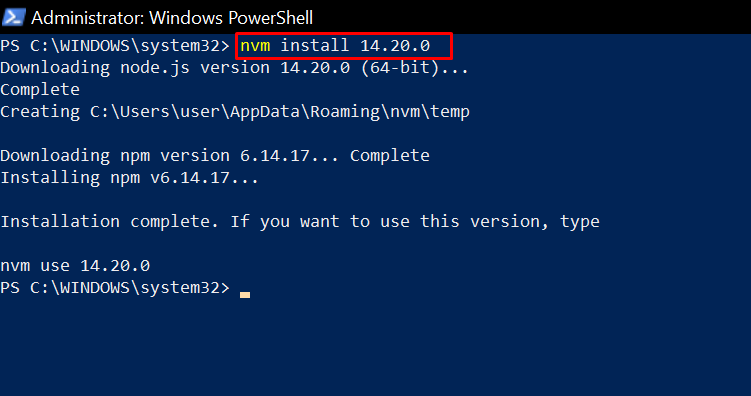
N.B.: Once you install a version of Node, the corresponding version of NPM is installed for you. So you don’t need to install NPM separately.
If the version of NPM you want to use is not available, run npm install @npm version-number -g to install it.
Now, to see the list of Node versions you have installed on your Windows machine, run
nvm list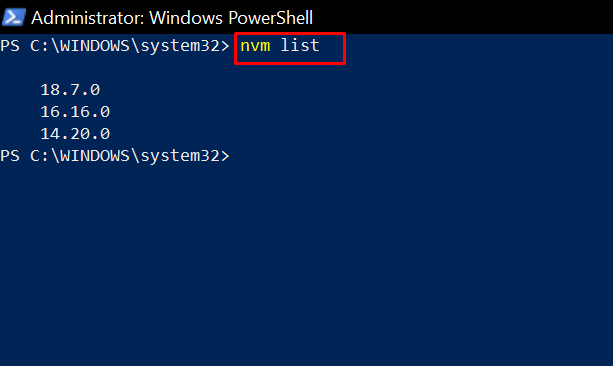
To use a specific version of Node, run:
nvm use latestto use the latest versionnvm use ltsto use the long-term support versionnvm useversion-numberto use any other version you have installed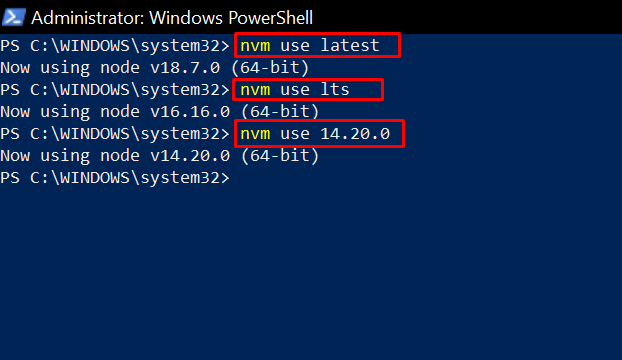
Recap
This article showed you how to install NVM on Windows 10 (nvm-windows) and how to use it to install and manage different versions of Node.
As a reminder, here are the common commands you’ll be using with nvm-windows:
nvm install node-version– install a version of Nodenvm list– see the versions of Node you have installed on your machinenvm use node-version– use a specific version of Node

No comments:
Post a Comment